
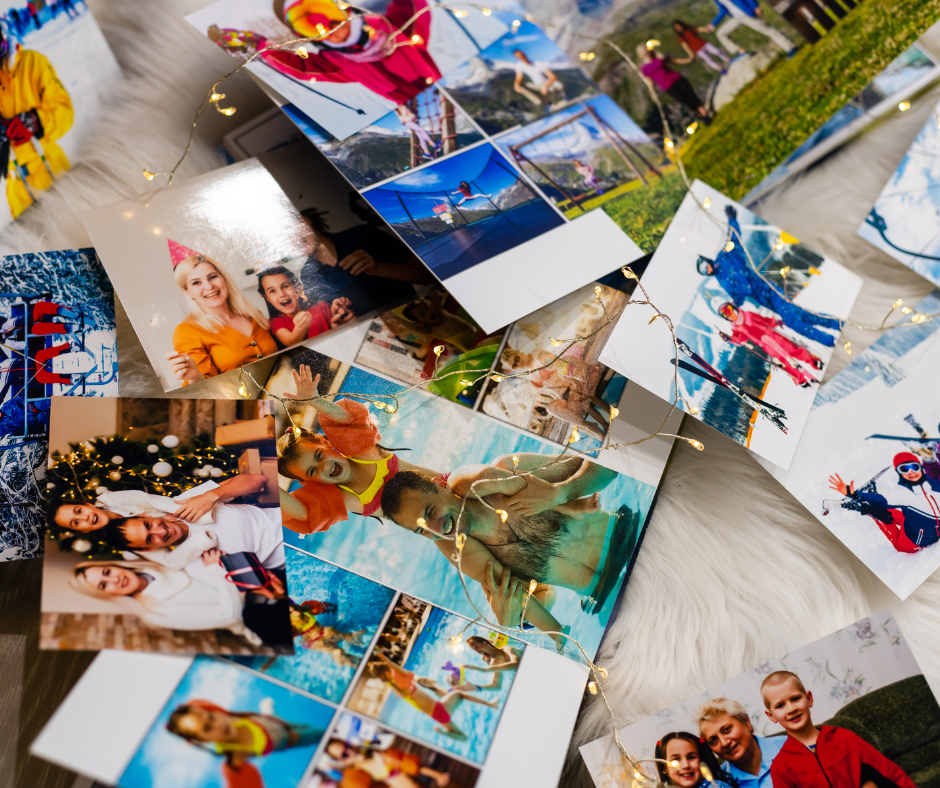
Summer is the perfect time to dive into a rewarding and meaningful project: organizing your photos.
Whether you’re a teacher on break, a new retiree, a college student home for the summer, or simply a photo enthusiast with some time on your hands, organizing your photo collection can be a fulfilling way to preserve precious memories. In this blog post, we’ll explore effective strategies for sorting, categorizing, and storing your photos, and offer tips on what to keep and what to toss.
Effective Strategies for Sorting Photos
1. Photo Categorization
The first step in organizing your photos is to decide how you want to categorize them. This can vary depending on your personal preferences and the nature of your photo collection. Here are a few common methods:
- By Date: Sorting photos chronologically is a straightforward approach that helps you see the progression of events and changes over time. Create folders for each year and, within those, subfolders for months or specific events.
- By Event: Grouping photos by specific events (e.g., weddings, vacations, holidays) allows you to quickly find images related to particular memories.
- By People Featured: If you have many photos of specific individuals, consider organizing your collection by the people featured in the photos. This can be especially meaningful for creating personalized photo albums or gifts.
2. Photo Labeling
As you sort through your photos, take the time to label them. This can be done digitally or on physical photos using archival pens. Include details such as the date, location, and names of people in the photo. Labeling helps preserve the context of your memories and makes it easier to find specific photos later.
3. Photo Storage
Once you’ve sorted and labeled your photos, it’s important to store them properly to ensure they remain in good condition. Here are a few storage options:
- Photo Albums: Use high-quality, acid-free photo albums to protect your prints. Albums keep photos organized and easily accessible for viewing.
- Photo Boxes: Acid-free photo boxes are another excellent option for storing physical photos. Label each box clearly and use dividers to separate different categories.
- Digital Storage: Digitizing your photos is a great way to preserve them long-term and make them easy to share. Use a reliable scanner to convert physical photos to digital format and organize them into folders on your computer or an external hard drive.
What to Toss?
As you go through your photos, you’ll likely come across images that aren’t worth keeping. Here’s a guide to help you decide what to toss:
1. Blurry, Bad Photos
Photos that are out of focus, poorly composed, or otherwise technically flawed can usually be discarded. If the photo doesn’t capture the memory well, it’s probably not worth keeping.
2. Doubles (and Similar Shots)
It’s common to have multiple shots of the same scene, especially in the age of digital photography. Keep the best version and discard the rest to reduce clutter.
3. Questionable Images
Photos that are confusing or don’t clearly depict anything meaningful can be tossed. If you can’t remember the context or the people in the photo, it might not be worth keeping.
4. Ones with Negative Connotations
Photos that bring up negative memories or emotions don’t need to be kept. Focus on preserving images that bring you joy and positive feelings.
5. Ones That Would Be Better Enjoyed by Others
If you come across photos that would be more appreciated by someone else (e.g., a friend or distant relative), consider passing them along. Sharing photos can be a thoughtful gesture and help others preserve their own memories.
Years of Photos?
If you have years’ worth of photos to organize, breaking the project into manageable chunks can help prevent overwhelm. Here’s a step-by-step approach:
1. Create Folders for Each Year
Start by creating a folder for each year of photos you have. Label each folder clearly with the year.
2. Sort Photos into Yearly Folders
Go through your collection and place the corresponding photos into the appropriate yearly folders.
3. Create Subfolders
Within each yearly folder, create subfolders to further organize your photos. Label these subfolders by month, event, vacation, or any other relevant category.
This method allows you to systematically work through your collection and ensures that your photos are organized in a way that makes sense.
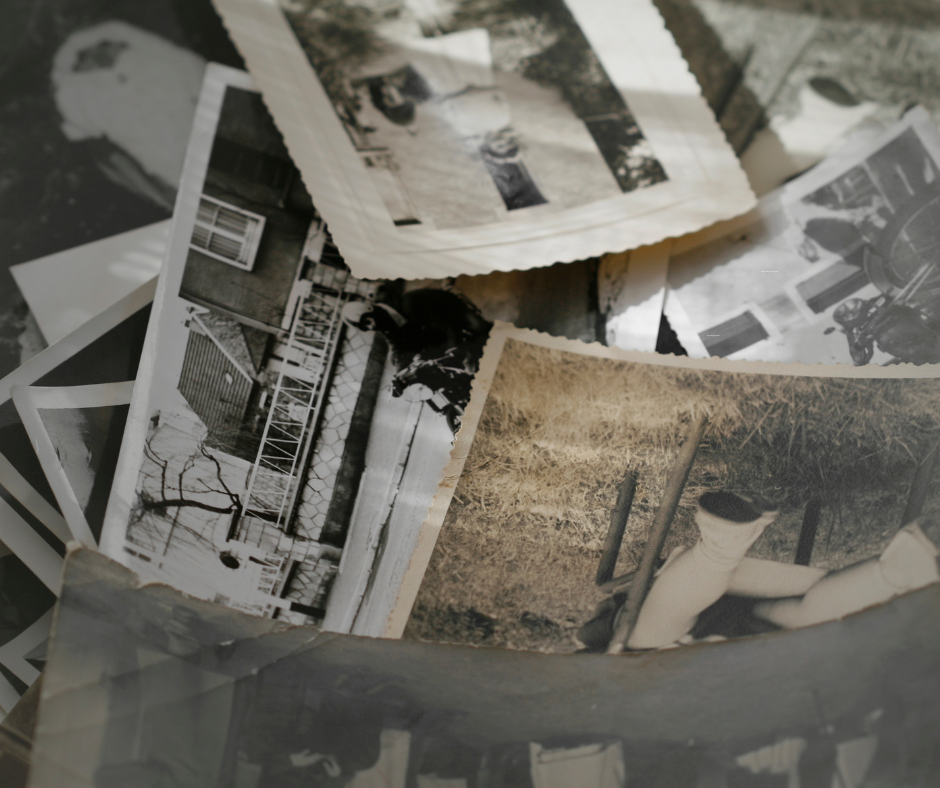
What to Do with Boxes of Photos?
If you have boxes of old photos, it’s important to handle them carefully to preserve their condition. Here’s how to tackle this part of the project:
1. Remove from Old Albums
If your photos are in old “magnetic” albums, carefully remove them. These albums can damage photos over time, so it’s best to transfer them to safer storage.
2. Stack in Chronological Order
Stack your photos in chronological order, labeling each stack by event, month, and year. This will help you keep track of the order and context of the photos.
3. Use Photo Boxes
Transfer the organized stacks into acid-free photo boxes. Label each box clearly, and use dividers to separate different events or time periods.
4. Digitize
Consider digitizing your photos as you go through them. This not only helps preserve the images but also makes them easier to share and access. At Memory Lane Jacksonville, we specialize in digitizing older media, making it simple for you to create digital archives of your cherished memories.
For additional tips on how to organize your photos, we found this helpful article by NPR
Final Thoughts
Organizing your photo collection is a meaningful summer project that allows you to relive and preserve precious memories. Whether you’re sorting through decades of photos or just a few recent albums, taking the time to categorize, label, and properly store your images will ensure they remain accessible and enjoyable for years to come.
About Memory Lane Jacksonville
At Memory Lane Jacksonville, we understand the importance of preserving your family’s legacy. We specialize in digitizing older media such as photos and family videos, ensuring your cherished moments are safely stored and easily accessible on USB flash drives, DVDs, or a simple link we can email to you .
Let us help you keep your memories alive and well-organized, so you can share them with future generations. Visit us today to learn more about how we can assist you in your photo organization project this summer.
By following these tips and leveraging the services at Memory Lane Jacksonville, you can transform your photo collection into a beautifully organized archive that celebrates the moments and people you cherish.
Happy organizing!